In respiratory therapy, the jet nebulizer is a cornerstone device, responsible for converting liquid medication into a therapeutic aerosol. Its function is based on a simple but critical engineering principle: the Venturi effect, where compressed air creates a low-pressure zone that draws up and atomizes the medication. However, when a unit fails to produce mist, patient treatment is compromised. This guide provides a systematic, engineering-based approach for biomedical professionals to diagnose and resolve the most common causes of this fault, ensuring equipment reliability and patient safety.
Critical Safety & Compliance Protocol
- Electrical Hazard: Always disconnect the device from its power source before inspection or disassembly.
- Contamination Control: Wear nitrile gloves. All patient-contact components of the nebulizer kit must be cleaned and disinfected according to manufacturer guidelines and your facility’s infection control policy after troubleshooting.
- Documentation: Log all maintenance actions and findings in the device’s equipment log or your hospital’s Computerized Maintenance Management System (CMMS).
Required Tools & Materials:
- Nitrile Gloves
- Soft, lint-free cloth
- Mild soap and distilled water (for cleaning reusable filters)
- Manufacturer-specified replacement filters (as needed)
Step 1: Inspect the Air Inlet Filter (The Point of Entry)
- The “Why”: The compressor requires a steady, clean flow of ambient air to function. The air inlet filter is the first line of defense against dust, dander, and other particulates. A clogged filter effectively starves the compressor, leading to insufficient pressure and a failure to aerosolize the medication.
- The “How”: Locate the filter cover (consult the device-specific service manual). Remove the filter and perform a visual inspection for heavy discoloration or dense particulate buildup. A significantly darkened filter is a clear indicator of a blockage.
- Pro-Tip: It is critical to differentiate between filter types. Reusable foam filters can be washed with mild soap, rinsed with distilled water, and air-dried completely before re-installation. Attempting to wash a disposable paper or felt filter will destroy its integrity and must be avoided. When in doubt, replace the filter.
Step 2: Investigate System Leaks (The Pressure Thief)
- The “Why”: The entire system is designed to be a closed pneumatic circuit. Any leak in the tubing or at a connection point allows pressurized air to escape, reducing the final pressure at the nebulizer cup below the threshold required for atomization.
- The “How”: Securely check all connection points: where the tubing attaches to the compressor outlet and where it connects to the nebulizer kit. Inspect the full length of the tubing for any visible cracks, kinks, or perforations.
- Pro-Tip: Micro-leaks, especially around worn connection points, can be difficult to spot. For a definitive test, apply a small amount of soapy water solution to the connections while the system is running. The formation of new bubbles will pinpoint the exact location of a leak.
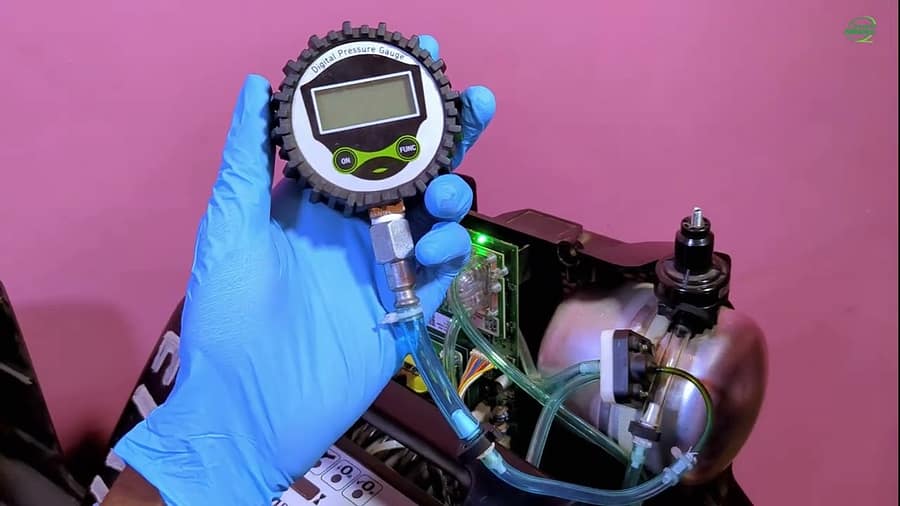
Step 3: Assess the Compressor Unit (The Heart of the System)
- The “Why”: The compressor is the electromechanical heart of the device. Piston wear, gasket failure, or motor issues can lead to its inability to generate the required pressure (typically 30-50 PSI for most models).
- The “How”: Listen for abnormal noises like grinding or rattling during operation. Feel the unit for excessive vibration or heat. A complete lack of airflow from the outlet port (with the filter removed) is a primary symptom of a failed compressor.
- Pro-Tip: Before condemning the compressor, ensure the issue is not electrical. If the unit doesn’t power on at all, check the power cord and the wall outlet first. If the unit hums but doesn’t run, it could indicate a seized motor or a failed start capacitor, which requires servicing by a qualified technician.
Step 4: Verify Nebulizer Kit Assembly (The Final Stage)
- The “Why”: The nebulizer kit itself is a precisely engineered component. If the baffle, nozzle, or other parts are misaligned, missing, or incorrectly assembled, the Venturi effect cannot be properly generated, and misting will fail.
- The “How”: Disassemble and reassemble the nebulizer kit, paying close attention to the manufacturer’s specific instructions. Ensure components like the baffle are correctly seated. Some kits are simple two-piece designs, while others are more complex.
- Pro-Tip: Never use kits from different manufacturers or models interchangeably. Small, unnoticeable differences in design can lead to complete functional failure. Always use the kit specified for the particular nebulizer model.
Frequently Asked Questions (FAQ)
- Q: How often should the air filter be checked or replaced?
- A: As per most manufacturer guidelines, filters should be inspected weekly and replaced (or cleaned, if reusable) at least every 30 days, or more frequently in high-dust environments.
- Q: What are the clear signs that a nebulizer needs to be escalated for professional service?
- A: Any signs of internal component failure, such as a compressor that overheats or makes grinding noises, or any electrical issue (e.g., intermittent power), should be immediately escalated to your biomedical engineering department or a certified service provider.
Conclusion: Ensuring Therapeutic Efficacy Through Diligent Maintenance By methodically assessing these four key areas—filtration, system integrity, compressor health, and kit assembly—biomedical professionals can efficiently troubleshoot and resolve the vast majority of “no-mist” faults. This diligence ensures that equipment downtime is minimized and that patients receive safe and effective respiratory therapy.
For a complete visual walkthrough of these troubleshooting steps, watch our detailed video demonstration on the Oxygen Alliance YouTube channel.