In any clinical environment, suction machines are fundamental tools for airway management and procedural support. For the biomedical professional, a thorough working knowledge of these devices is not optional. The SMAF YX 920s is a common model whose performance relies on a straightforward yet effective integration of pneumatic and electrical systems. Understanding its architecture is key to rapid troubleshooting, effective maintenance, and ensuring the unit is always ready for use, free from contamination or performance degradation.
Mandatory Safety and Disinfection Protocol
When a suction machine fails to perform, the situation demands a swift and accurate response. These devices are exposed to infectious agents, making every interaction a matter of procedural safety for both the patient and the technician. Adhering to strict disinfection protocols and using appropriate personal protective equipment (PPE) is the mandatory first step before any diagnostic work can begin.
Objective and Scope
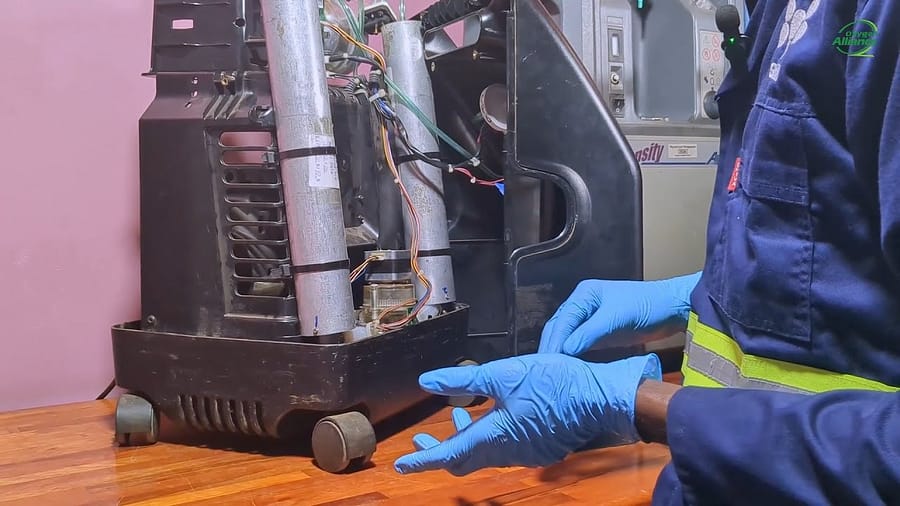
A report of “low suction” requires a systematic investigation. This protocol outlines a methodical approach to guarantee a correct diagnosis by starting with the most accessible components and logically progressing inward, as demonstrated on a suction machine like the SMAF YX 920.
Diagnostic Troubleshooting Tree
The process to uncover the root cause of poor performance involves a series of sequential checks.
Step 1: Inspect the Collection System
- Float Valve: Check the float valve, often found in the safety canister. A malfunctioning valve can become stuck, either blocking airflow entirely or failing to prevent a catastrophic fluid overflow into the pump. A simple shake can sometimes reveal if it is jammed.
Step 2: Evaluate the Vacuum Regulator
- Function and Failure: The regulator’s purpose is to bleed in atmospheric air to control the suction level. If its threads are worn or it’s set improperly, it can be the source of the problem.
Step 3: Examine the Bacterial Filter
- Blockages and Orientation: This small but vital part can become clogged over time, effectively choking the system and restricting airflow. Some filters are even directional, and incorrect installation will impede performance.
Step 4: Test for System Leaks
- Leak Sources: Leaks introduce atmospheric air into the system, neutralizing the vacuum effect. Common sources include a cracked canister, a loose-fitting lid, or damaged tubing.
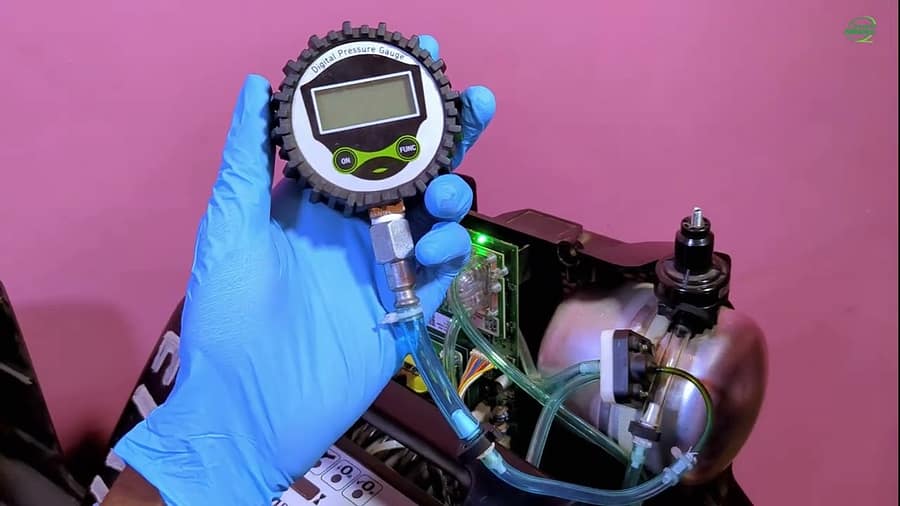
- Isolation Technique: The diagnostic process involves methodically isolating each of these sections—the main canister, the safety canister, and the filter—to pinpoint where the pressure loss is occurring. The machine’s own vacuum gauge can be used as your diagnostic tool to hunt down the leak.
The Value of a Methodical Process
This methodical process gives you control over the situation, allowing you to resolve the issue with precision, document your findings accurately, and return a fully functional, safe, and reliable machine to clinical use. It saves time by not needlessly disassembling the entire machine. It also saves resources by identifying the single point of failure, whether it’s a minor component or a clogged filter, rather than ordering a whole new pump assembly.
Video Resource
To help master this diagnostic process, a video is available that visually demonstrates each step of troubleshooting low suction. The video shows how to test the float valve, check for leaks, and systematically isolate components to find the source of the problem.
Watch the full troubleshooting guide here: